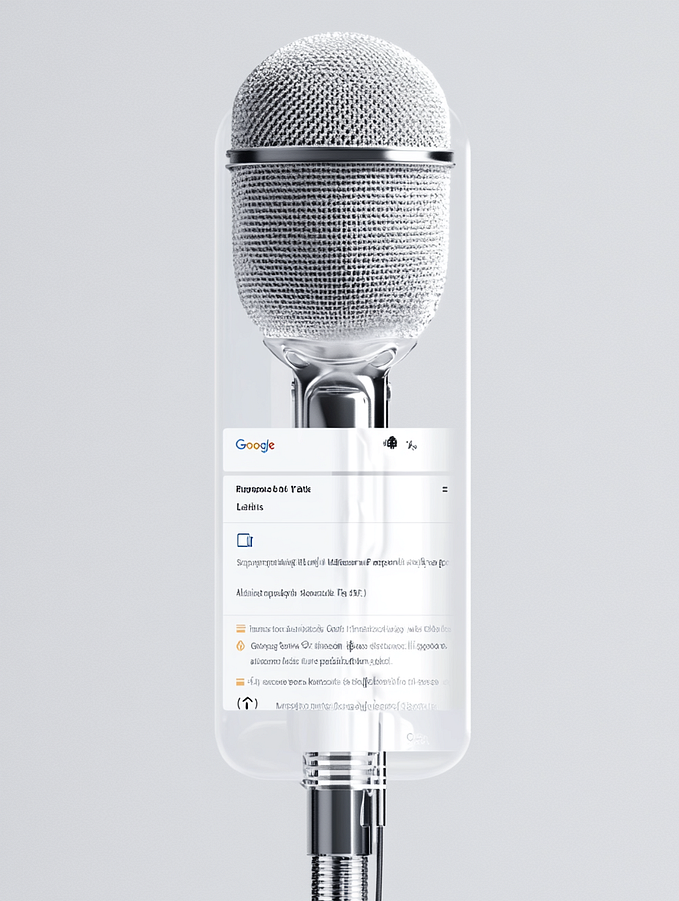
How to Access the Microphone and Convert Speech to Text using JavaScript

In today’s digital age, voice recognition has become an essential part of modern applications. Whether it’s interacting with virtual assistants like Alexa or using voice commands on your phone, the ability to convert speech to text has become a powerful tool. As a developer, you can integrate this functionality into your web applications using JavaScript and the Web Speech API. In this blog, we will explore how you can access the microphone using JavaScript and convert whatever you speak into text, in just a few lines of code.
What is the Web Speech API?
The Web Speech API allows web developers to incorporate voice data into web apps. The API consists of two parts:
- SpeechRecognition: Recognizes voice input from the microphone and transcribes it into text.
- SpeechSynthesis: Allows the browser to “speak” using text-to-speech.
In this tutorial, we will focus on the SpeechRecognition interface, which helps us capture audio from the user’s microphone and convert it to text.
Browser Support
Before diving into the code, it’s important to note that the Web Speech API is supported in most modern browsers, but Google Chrome and Microsoft Edge provide the best support as of now. If you’re using another browser, ensure that it supports the Web Speech API or check for alternative solutions.
Step-by-Step Guide to Implement Speech Recognition
1. HTML Structure
To start, create a simple HTML file. This file will include a button that users will click to start the speech recognition process, and a placeholder for the recognized text to be displayed.
<!DOCTYPE html>
<html lang="en">
<head>
    <meta charset="UTF-8">
    <meta name="viewport" content="width=device-width, initial-scale=1.0">
    <title>Speech to Text Demo</title>
</head>
<body>
    <h1>Speech to Text Example</h1>
    <button id="start-btn">Start Recording</button>
    <p id="result"></p>
</body>
</html>
In this structure:
- A
buttonis used to trigger the speech recognition process. - A
ptag will display the text generated from the spoken input.
2. JavaScript Code for Speech Recognition
Next, we’ll add the JavaScript part, which handles microphone access and the conversion of speech to text. Here’s how you can implement it:
<script>
    // Check if the browser supports the Web Speech API
    if (!('webkitSpeechRecognition' in window)) {
        alert("Your browser doesn't support the Web Speech API. Please use Chrome or Edge.");
    } else {
        // Create a new instance of SpeechRecognition
        const recognition = new webkitSpeechRecognition();

        // Set properties
        recognition.continuous = false; // Capture only one result
        recognition.interimResults = false; // Get the final result, not partial results
        recognition.lang = 'en-US'; // Set the language to English

        // Start button click event
        document.getElementById('start-btn').onclick = () => {
            recognition.start(); // Start listening
        };

        // Handle the result when speech is detected
        recognition.onresult = (event) => {
            const transcript = event.results[0][0].transcript; // Get the speech result
            document.getElementById('result').innerText = `You said: ${transcript}`;
        };

        // Handle any errors
        recognition.onerror = (event) => {
            console.error('Speech recognition error:', event.error);
        };

        // Log when the speech recognition service starts or ends
        recognition.onstart = () => {
            console.log('Speech recognition started');
        };
        recognition.onend = () => {
            console.log('Speech recognition ended');
        };
    }
</script>
Explanation of the Code
- SpeechRecognition Interface: The
webkitSpeechRecognitionobject allows us to access the microphone and start speech recognition. This object is prefixed withwebkitfor compatibility with Chrome and Edge. - Recognition Properties:
continuous: When set tofalse, the recognition stops automatically after capturing a single phrase.interimResults: Setting this tofalseensures that only the final result is displayed, not partial transcripts.lang: This specifies the language used for recognition, in this case, English (US). You can change this to other language codes if needed.
3. Recognition Start and End: When the “Start Recording” button is clicked, the recognition starts using the recognition.start() function. Once the speech is recognized, the onresult event is triggered, capturing the speech in the transcript variable and displaying it on the page.
4. Error Handling: The recognition.onerror event is included to handle any errors that may occur, such as microphone access denial or other technical issues.
How it Works
- When you click the “Start Recording” button, the browser requests access to the microphone.
- You speak into the microphone, and the browser converts your voice into text using the SpeechRecognition interface.
- The result is displayed on the screen under the button as text.
Demo in Action
When you run this code, here’s how the interaction looks:
- Click the button: This starts the microphone and listens for your voice.
- Speak a sentence: The browser captures the audio and sends it for recognition.
- View the result: The recognized speech is shown on the page.
Practical Use Cases
- Voice Commands: You can extend this concept to allow users to control your web application with their voice.
- Form Filling: Enable users to fill out forms by speaking, improving accessibility for users with disabilities.
- Search Engines: Add voice search functionality to websites.
Conclusion
Incorporating speech-to-text functionality into your web applications can significantly improve user experience, especially for accessibility and convenience. The Web Speech API provides a simple and efficient way to access the microphone and convert spoken words into text, making it easy for developers to create interactive and voice-enabled web applications.
Connect with me
Feel free to check out my other projects and follow me on my coding journey:
- GitHub Repository:
- LinkedIn Profile: